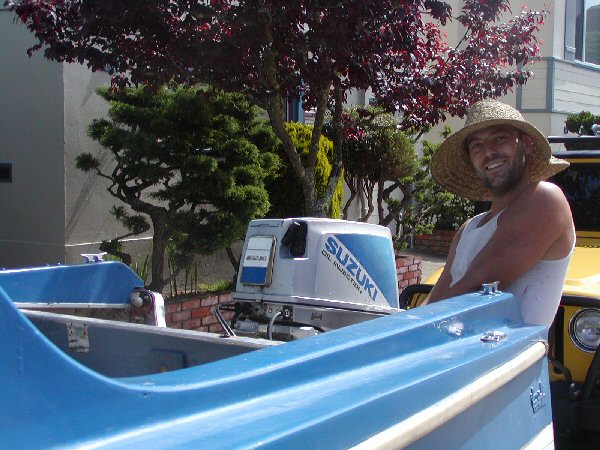
In late February 2004, my son Shane and daughter-in-law Lisa found and purchased
a 16-foot 1960s-vintage fiberglass hull cabin cruiser complete with trailer
and 40 HP outboard motor. Other than some minor engine work which Shane completed
within two weeks of getting the boat, the boat was ready to go on the water.
The original owner had given the boat to his son-in-law, and the son-in-law
was moving to Reno, Nevada, and wanted to find someone who would appreciate
the boat and use it often, and sold the boat to Shane and Lisa for far below
what it was worth because Shane, Lisa and I wanted not only to use the boat
to fish as much as we can, but also because the three of us wanted to restore
the boat as well.
The original owner had replaced the interior sidewalls, cabin wall and door,
and bunks inside with particle board and bulk marine plywood, subsequently
modifying the steering and throttle arrangements as well: the throttle was
on the right side of the boat, and the steering wheel was on the left. This
page serves as the journal of the rebuilding and restoration process, which
we started on April 3rd, 2004.
|
Click on the thumbnails to view details
|
|
First Weekend: April 3rd and 4th, 2004: Replacing cabin walls and
deck side panels
|
|
|
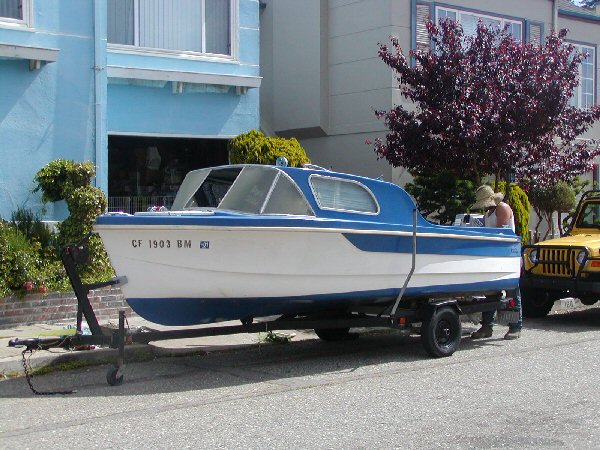
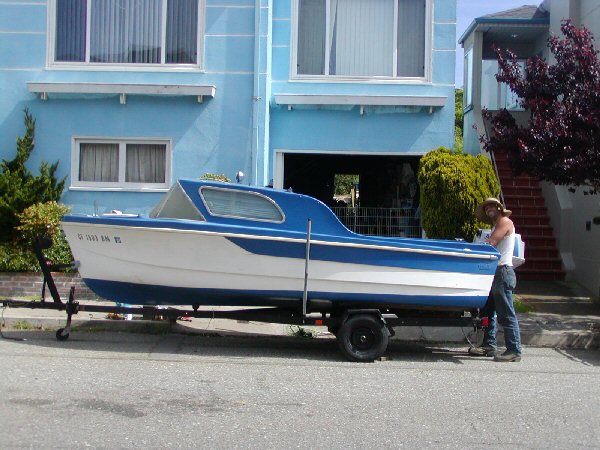
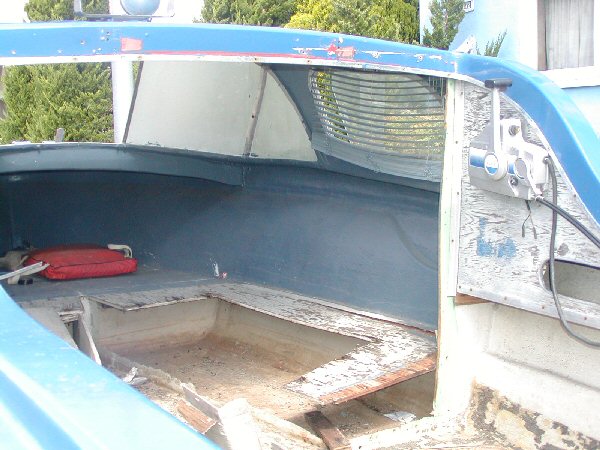
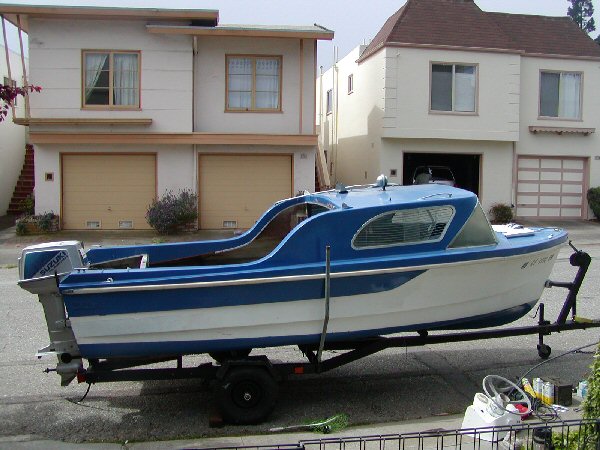
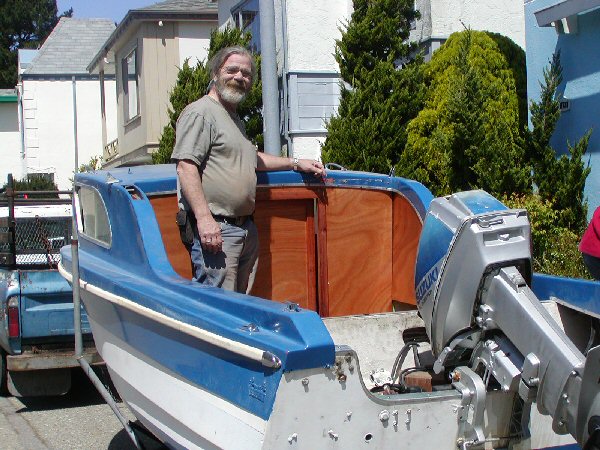
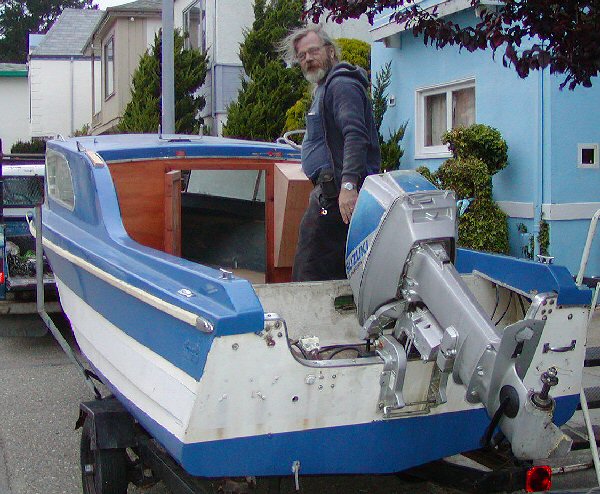
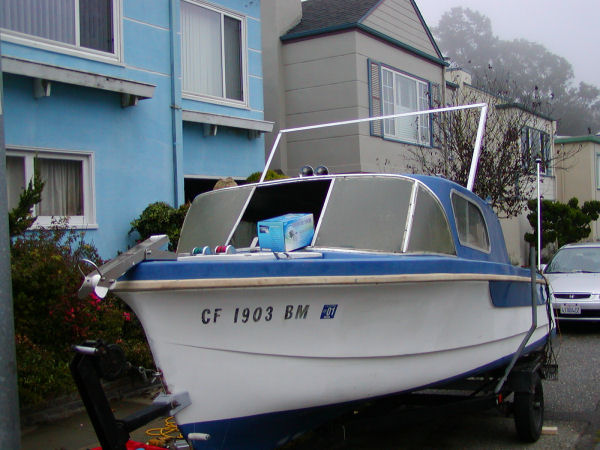
Boat, trailer, and motor sitting in front of my home; Shane and Lisa
have already stripped out the interior side panels, the cabin wall,
and parts of the old plywood bunks.
The bunks still have to come out, and the remnants of the cabin walls
need to be trimmed to a straight vertical edge.
|
|
|
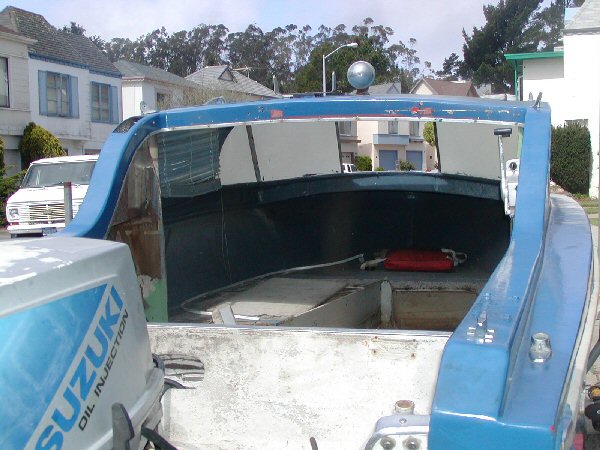
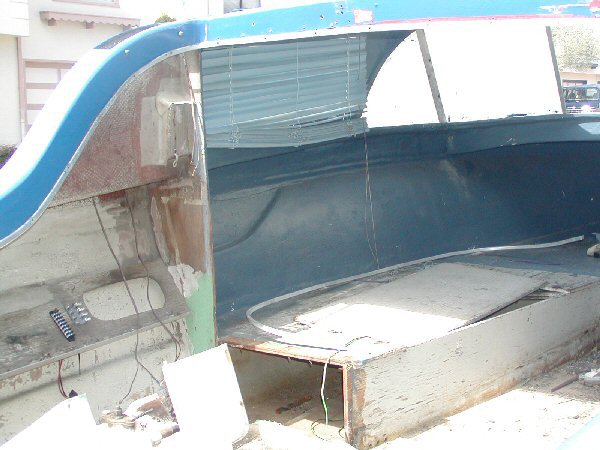
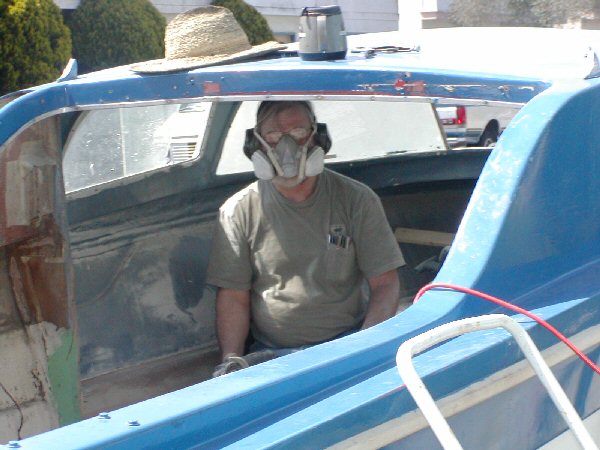
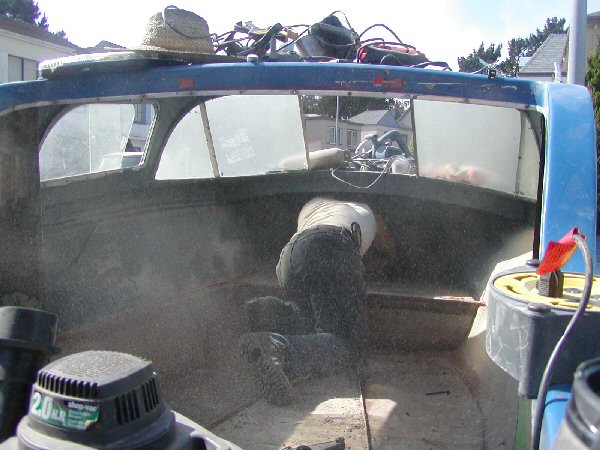
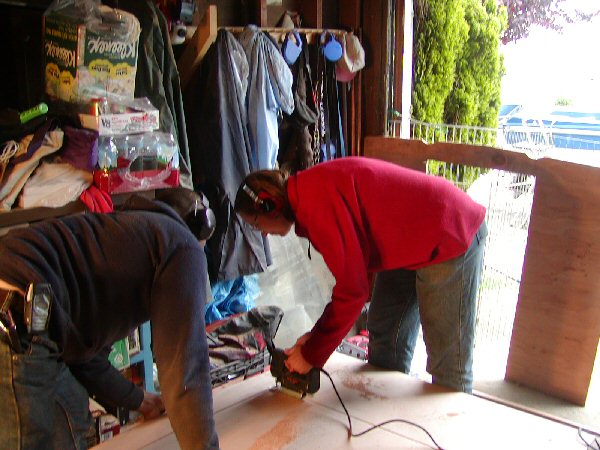
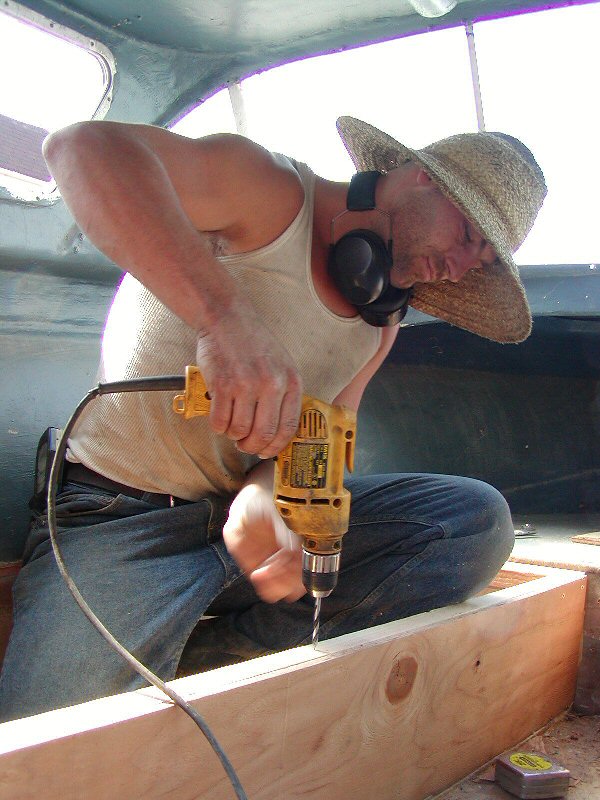
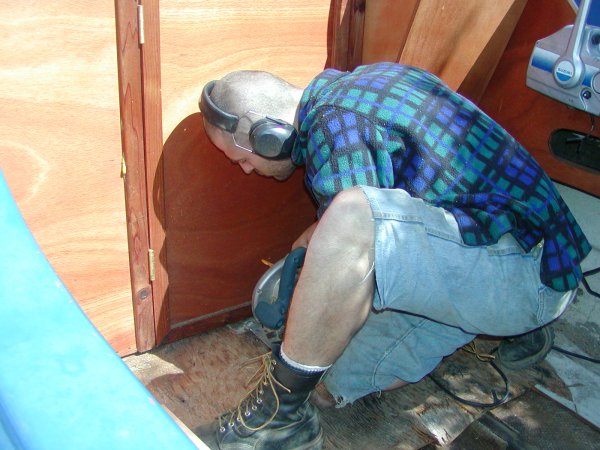
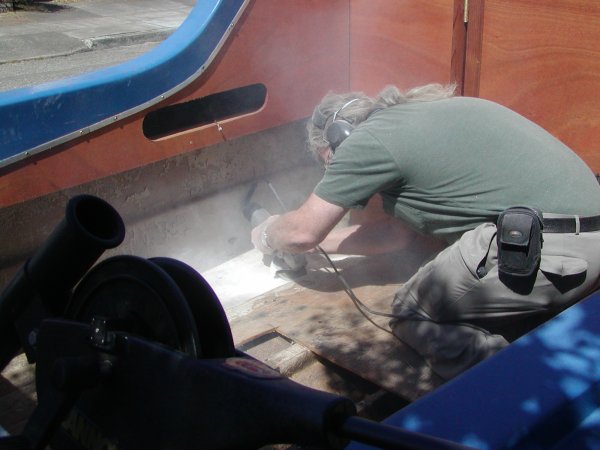
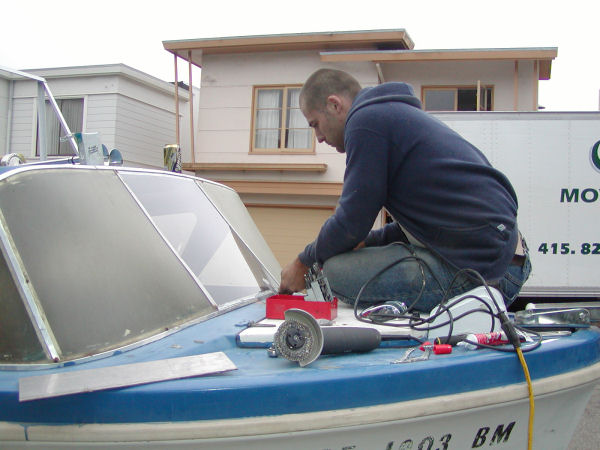
The steering console has been removed, and the hardware on top of the
cabin and the remnants of the bunks are being removed. All of the interior
wood was attached with thick fiberglass, which had to be cut very carefully
so as not to cut into the hull - and yes, we all wore respirators and
hearing protectors.
|
|
|
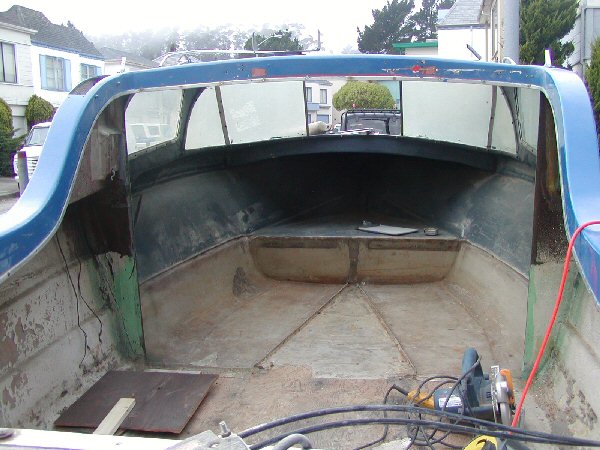
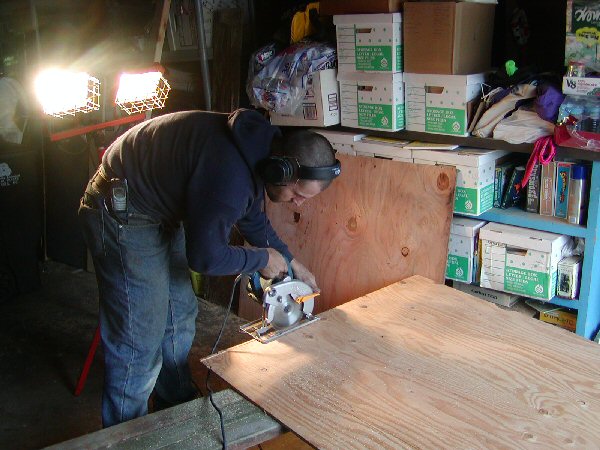
Now that the old wood has been stripped out, it's time to use inexpensive
plywood make the templates for the panels and walls. When the template
fits perfectly, then the template is traced onto the half-inch marine-grade
Okuma plywood that will become the new panels and walls.
|
|
|
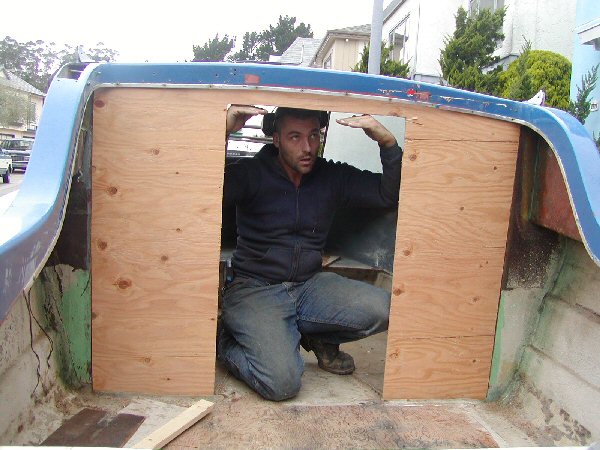
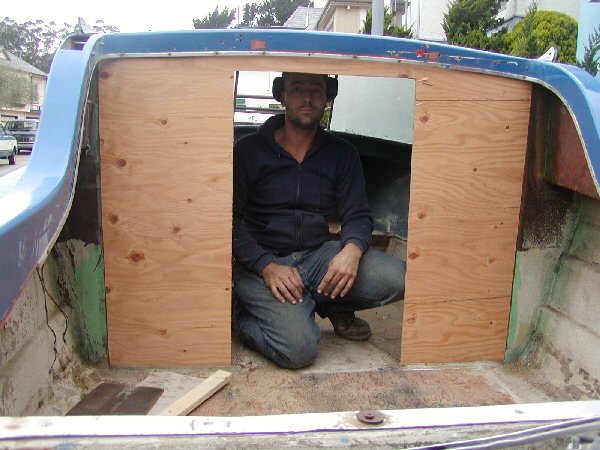
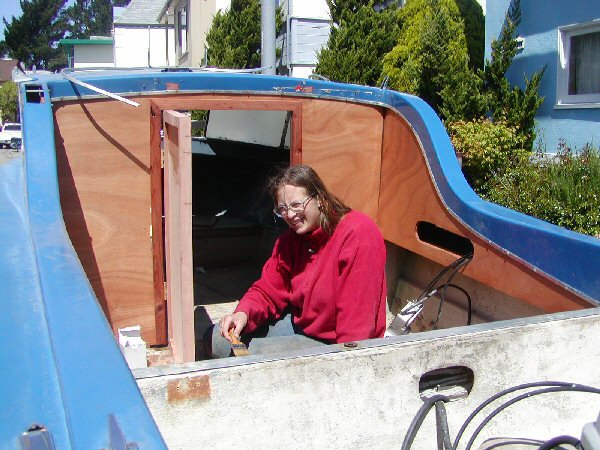
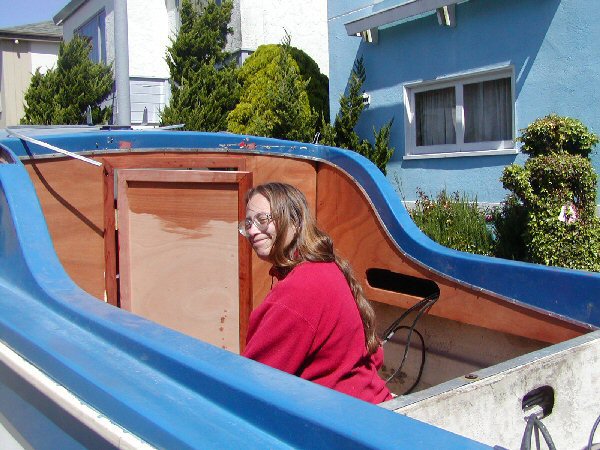
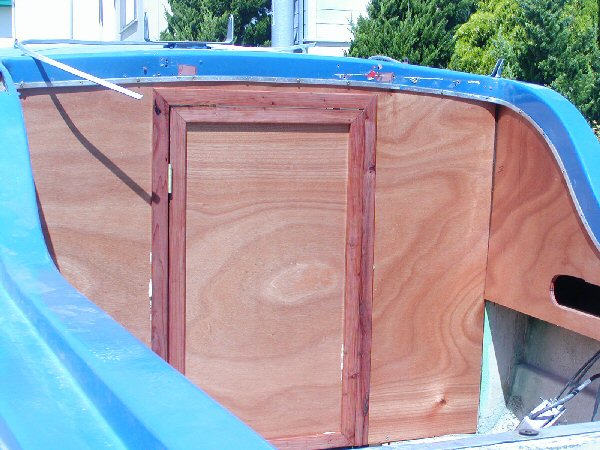
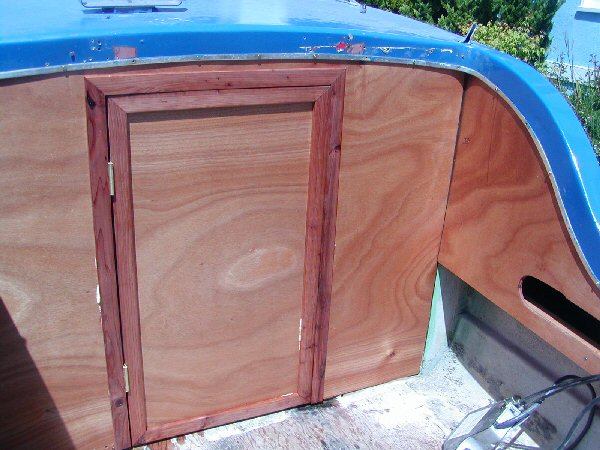
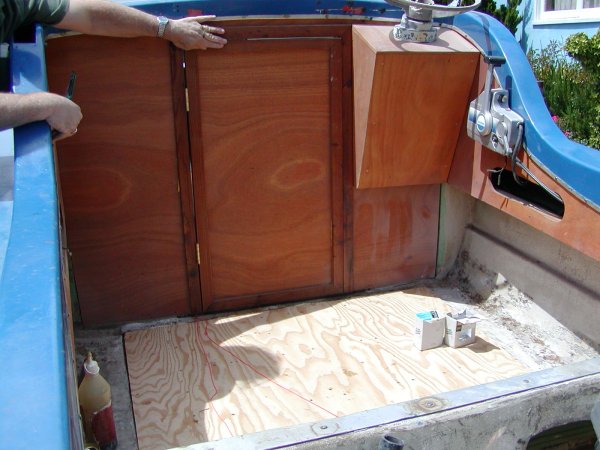
Wall, door, and side panels are in and anchored, and are being treated
with the first of several coats of linseed oil/mineral spirits mixture
to waterproof the wood. The paneling is the Okuma marine-grade plywood
previously mentioned, and the door frame and joists are redwood.
|
|
Second Weekend: April 10th and 11th, 2004: Replacing cabin walls
and deck side panels
|
|
|
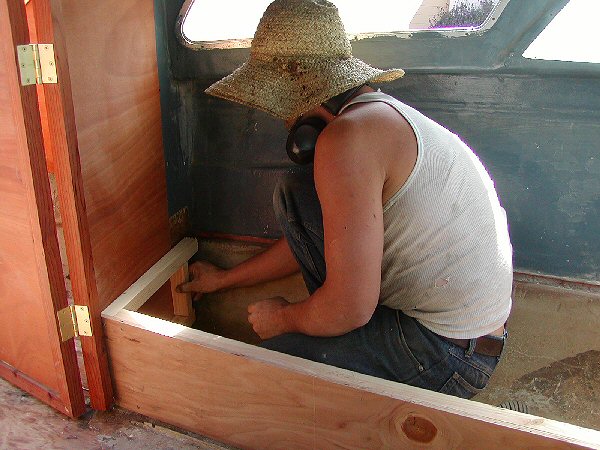
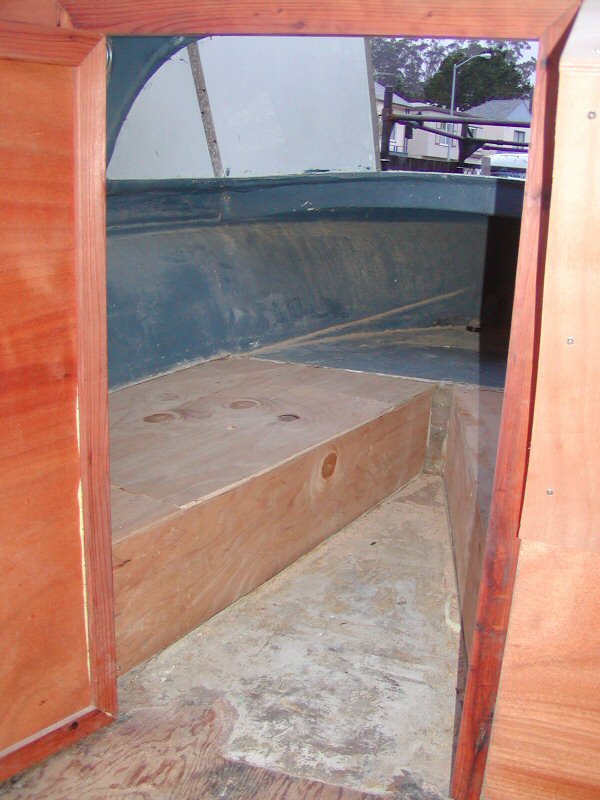
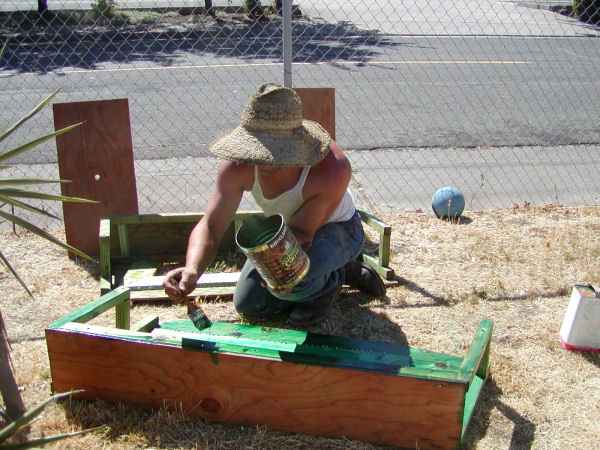
Replacing the bunks with exterior-grade 1/2 inch plywood, reinforced
with fir 2-inch by 2-inch risers on the inside. We left a small ridge
of the original fiberglass to serve as a guide and brace for installing
the new bunks.
While Shane was attaching the plywood to the risers, I was measuring
more plywood for the top of the bunks. After we installed the top of
the bunks, Shane and I cut access panels into the top of each bunk and
added the supports beneath each panel.
The bunks are not anchored yet, because we need to remove the ridges
of fiberglass from the floor, sand the interior hull, sand the bunks,
and give the bunks several coats of linseed oil.
|
|
|
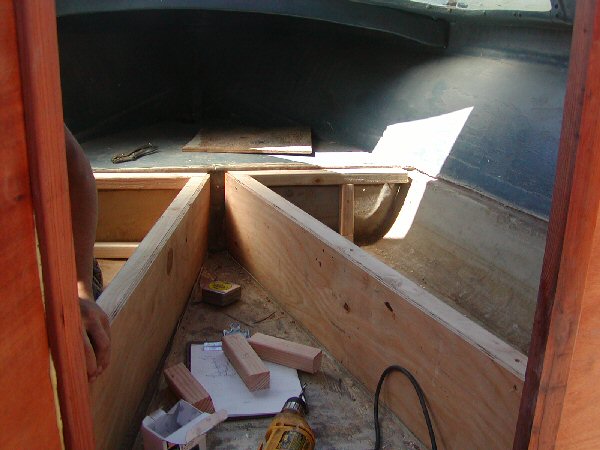
The secondary transom—the wall from the floor to the top of the
sides that is between the motor and the main deck—was not thick
enough to support down riggers, so Shane and I measured and angle-cut
a 55-inch fir two-by-four fir to reinforce the secondary transom.
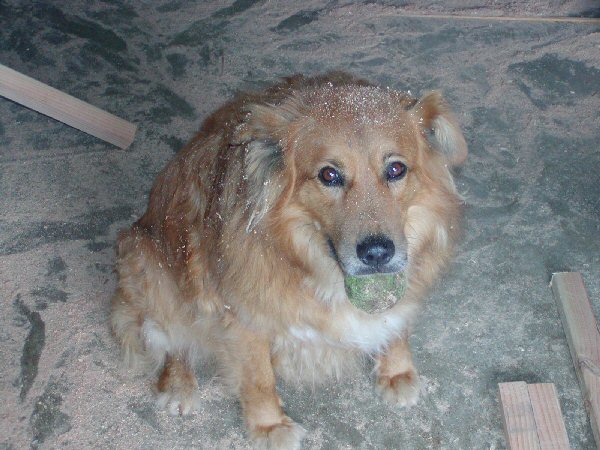
When Shane and I had completed cutting the transom reinforcement, we
saw that Simba was sitting there patiently, waiting for us to take a
break and throw the tennis ball for him - which we did. Simba has sawdust
in his fur because he loves to stand in the sawdust ejection stream
while wood is being cut.
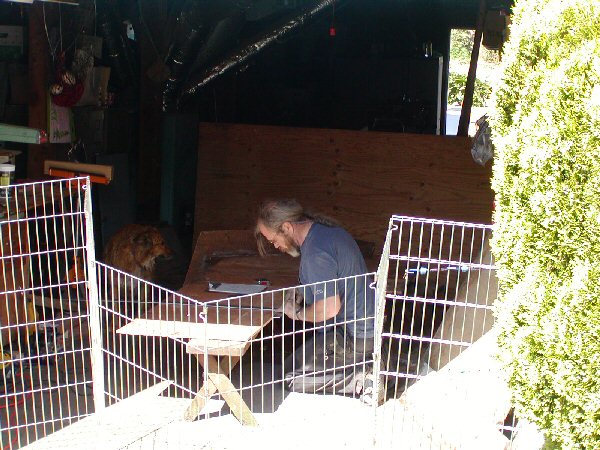
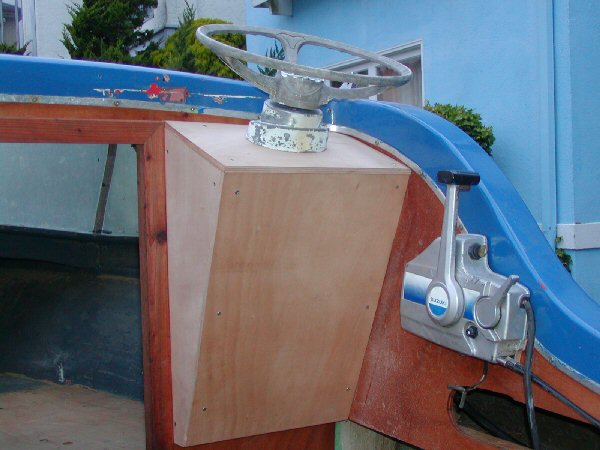
Afterwards, while Lisa was sanding the transom reinforcement, Shane
and I built the console for the steering wheel, gear box, and steering
cables, and attached the engine throttle to the side panel.
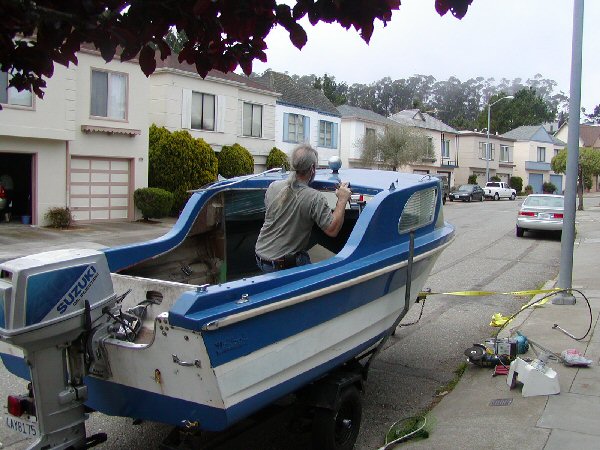
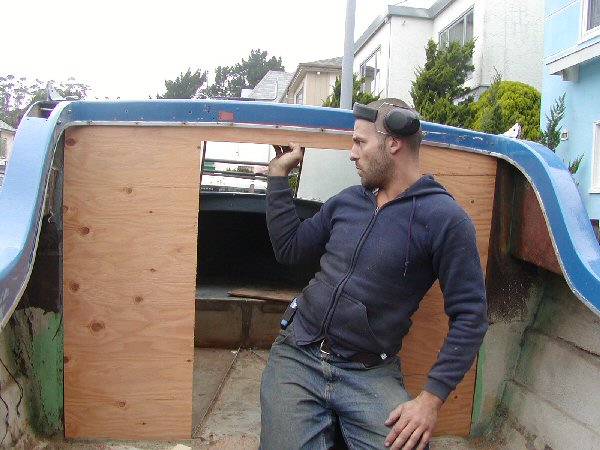
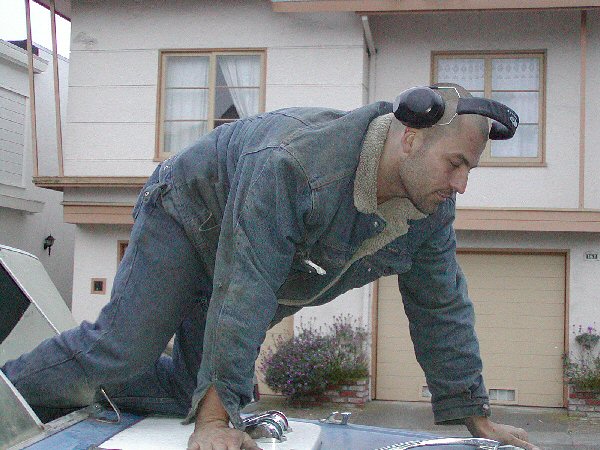
Shane exiting out the front window because we haven't built the door
bolt assembly yet, and for now the door is screwed shut on the inside
when we finish for the day.
|
|
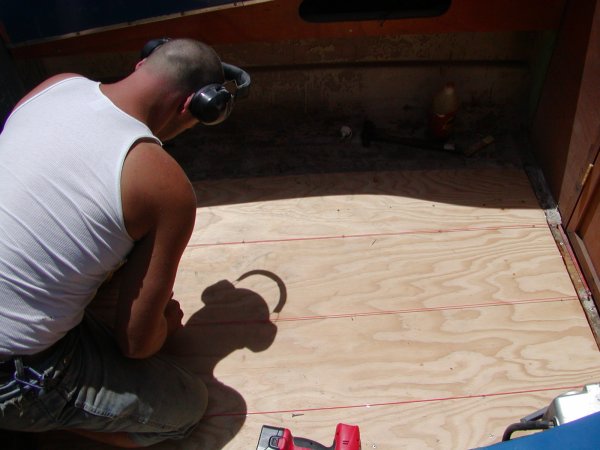
Third Weekend: May 16th, 2004: Replacing the main deck
|
|
|
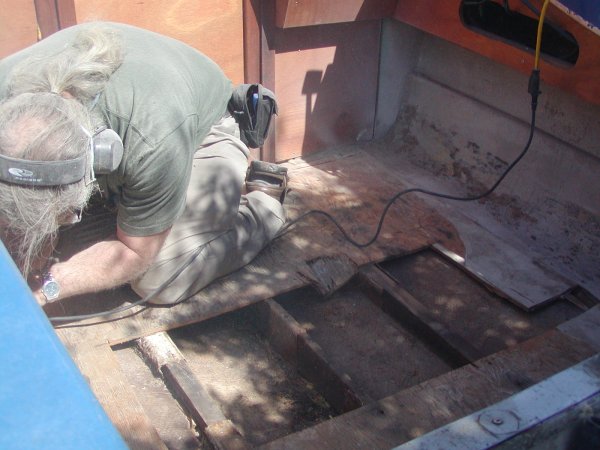
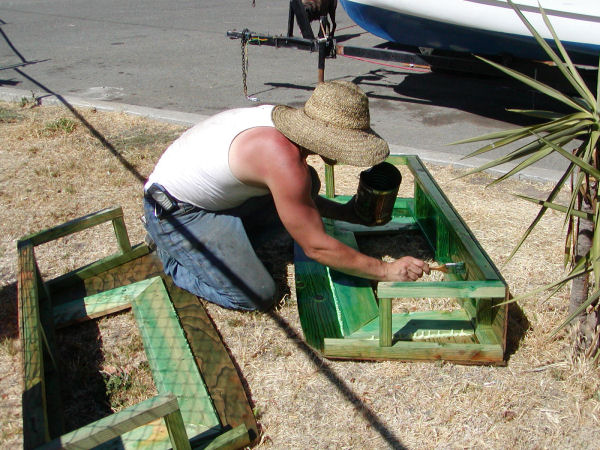
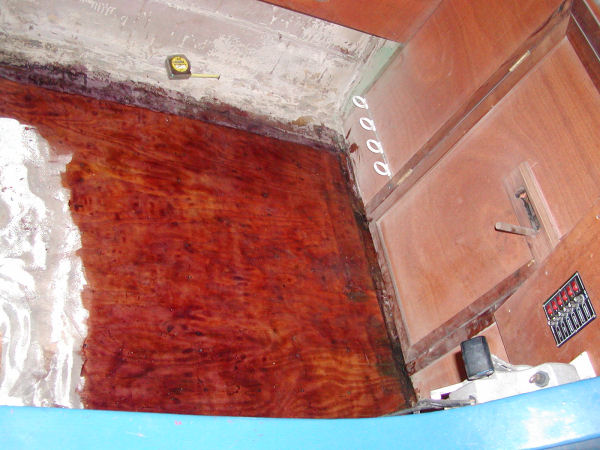
The original deck was 1/4 inch plywood covered by fiberglass, and
was very warped. Shane and I removed the entire floor and painted the
risers with a green anti-rot waterproofing product. We then cut 1/2
inch reinforcement plywood strips, treated them with the anti-rot product,
and inserted them between the risers.
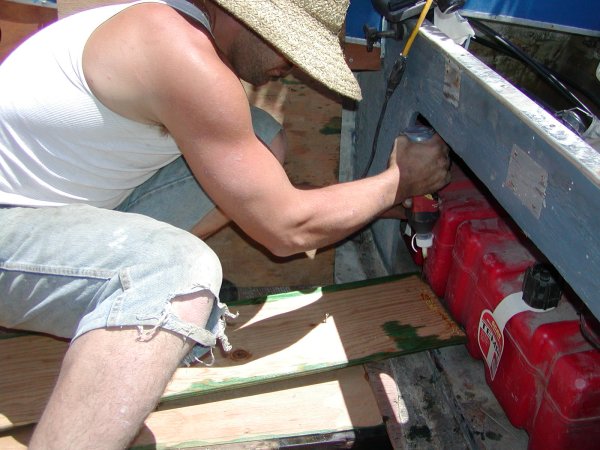
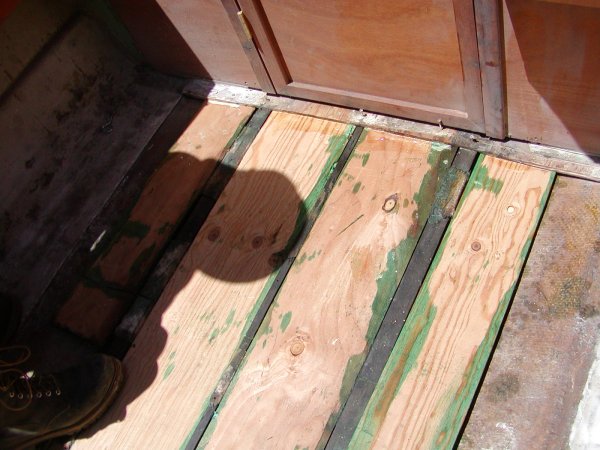
When the reinforcement strips were in place, we coated each strip
with waterproof adhesive, and then placed the new 1/2 inch plywood
deck on top, and anchored the new deck to the reinforcement strips
with brass screws.
|
|
Fourth Weekend: August 1st, 2004: Windows, anchor winch, power
panel, and door slide
|
|
|
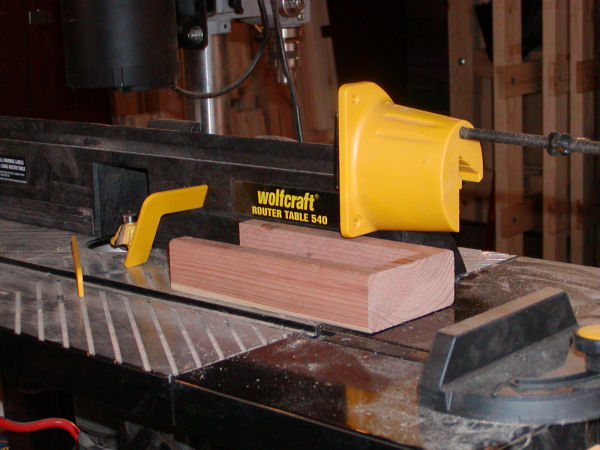
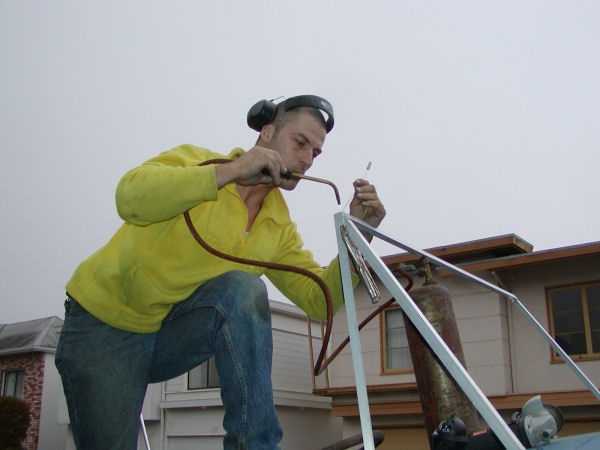
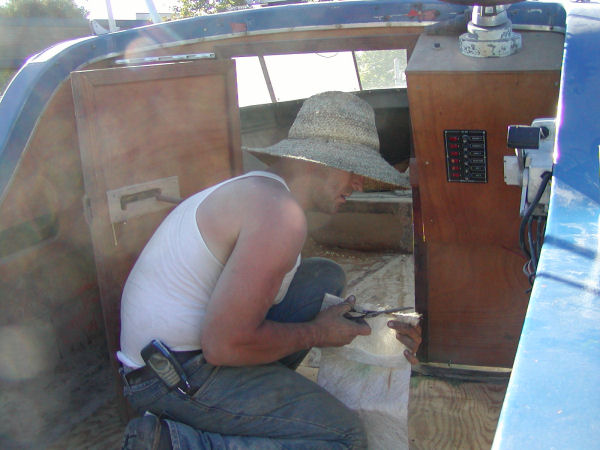
Rather than a brass door knob, Shane and I went for an old-fashioned
dungeon-style slide. The piece on the router is the external
portion of the slide, being readied for decorative routing on the outside
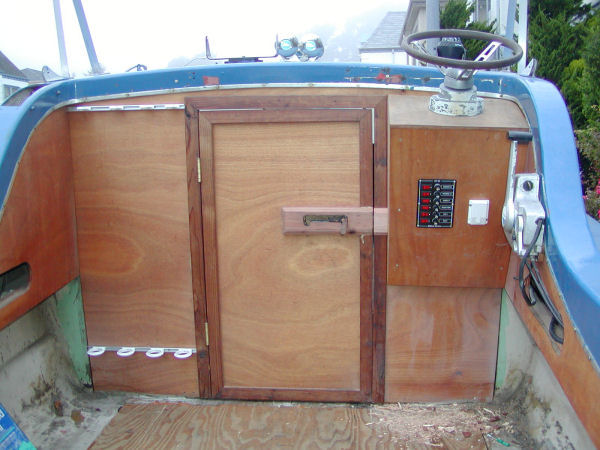
of the slide. The next picture shows the assembled slide and the power
and fuse panels we installed in the console.
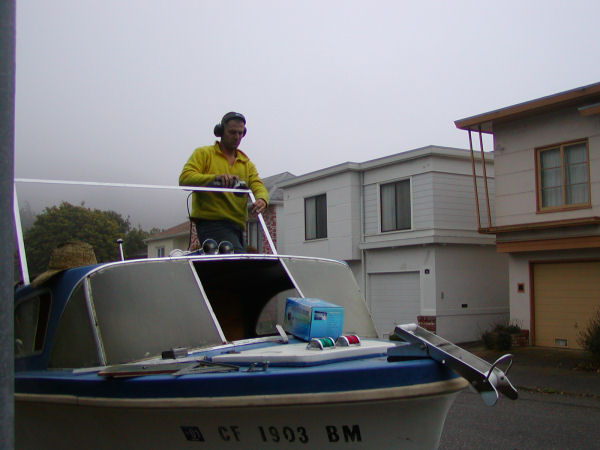
When we checked the price of getting a top windshield and replacing
the front windshield, well.... we built our own using aluminum channel
and plexiglass! The winch holds 150 feet of 2,000 pound test line -
beats hauling up an anchor by hand!
And yes, it IS foggy, and it IS August 1st - that's San Francisco!
|
|
Fifth Weekend: August 7th and 8th, 2004: Waterproofing, fiberglassing
bunks and floors
|
|
|
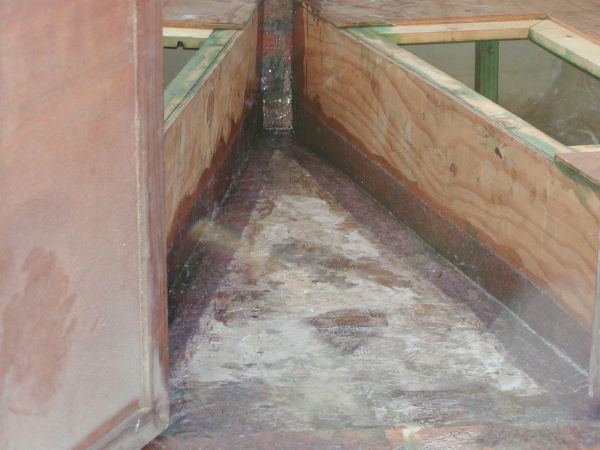
Since water tends to splash inside boats, we waterproofed the insides
of the bunks. The outside of the bunks and the cabin and deck
floors got fiberglass.
|
|
Sixth Weekend: August 15th and 16th, 2004: On the Water!
|
|
|
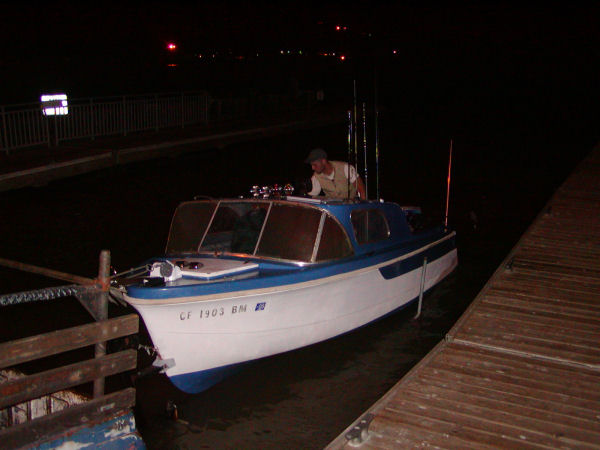
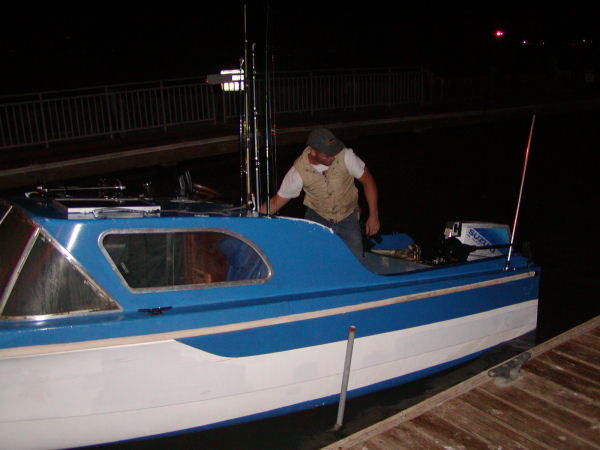
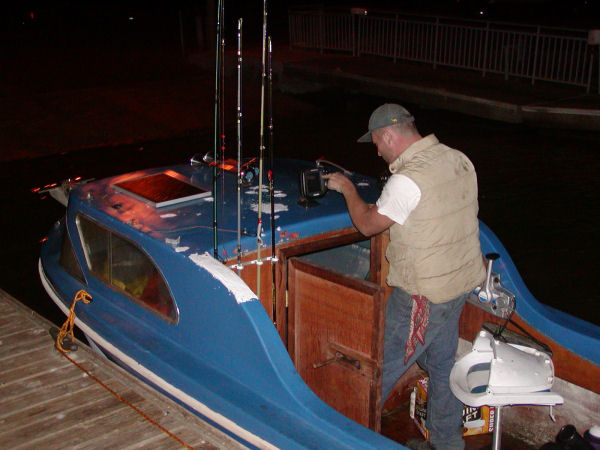
We launched from the Valejo public boat ramp at about midnight, and
headed for the Carquinez narrows - going underneath the Richmond bridge. Even
with motion stabilization, a digicam just don't quite suffice, but
does produce some interesting effects!
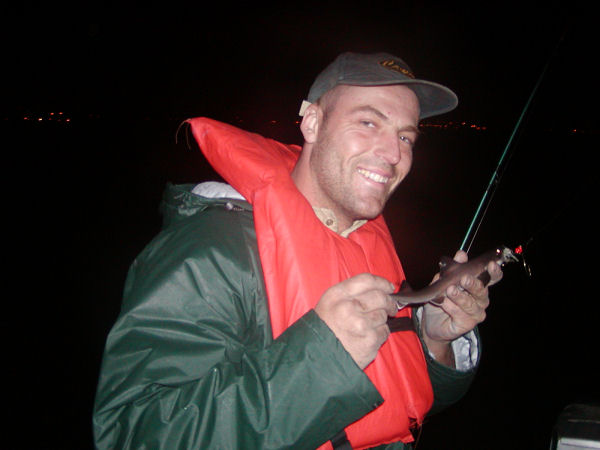
Even though the fish finder showed a lot of fish beneath us, all that
was caught that night was the baby shark my son Shane caught (yes,
we carefully unhooked the wee shark and gently lowered him back into
the water!) - but like the old cliche says, "The
worst day (night?) fishing is better than the best day working"!
|