|
Copyright © T. GhostWolf Davidson. All rights reserved. |
Piracy / Copyright Notice |
Break out of someone else's frames here |
Cat Food and Cokes Shelf
Storage space is very limited in the kitchen, and finding a place to store canned cat food and Costco-sized cases of coke has been problematical. One morning I was refilling the dry cat food dispenser that sits beneath one of the counter overhangs - and noticed all of the unused vertical space above the feeder. That weekend, 12/29/2005, I started work on the shelf.
|
Click on thumbnail pictures for a larger view. |
||
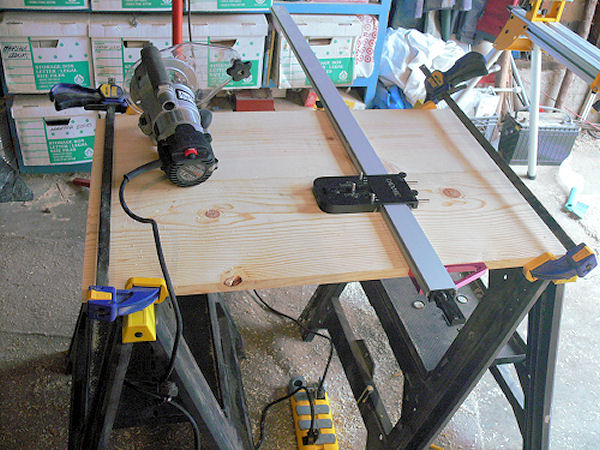 |
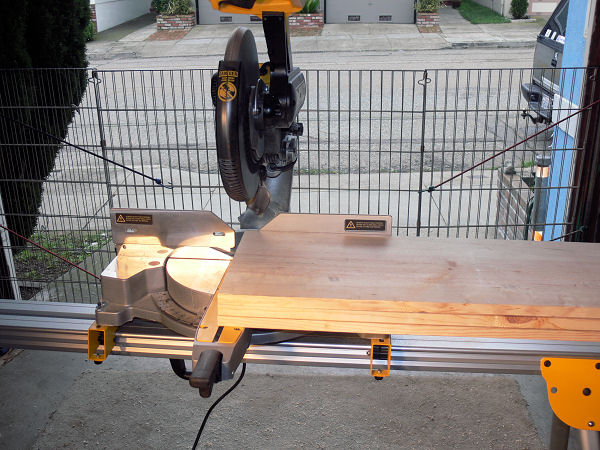
Lining up the shelf sides' top and bottom before using the routing jig to dado in the grooves into which the shelves will fit. The device in the center is a dadoing jig made specifically for routers that ensures the cut is exactly the width of the board that is to be inserted in the cut. |
|
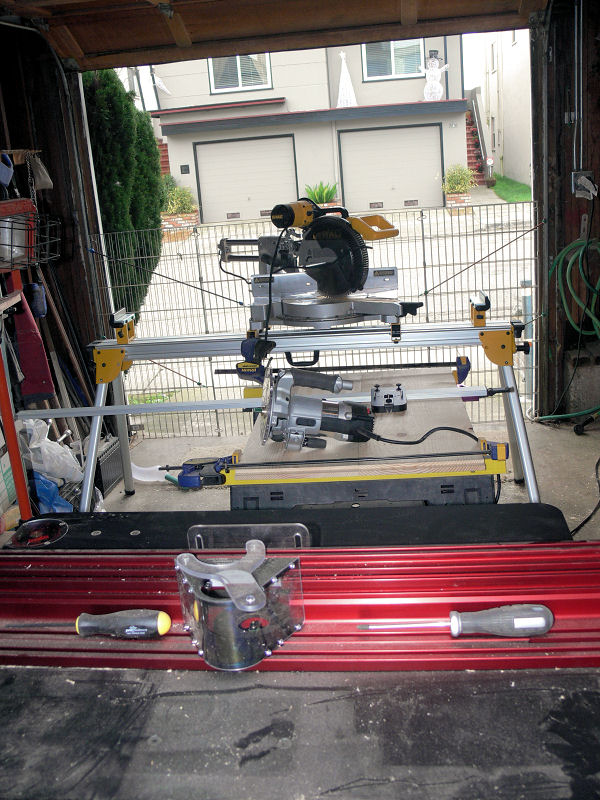 |
This is the same setup, but viewed from the end of the shelf sides. The red object with the screwdrivers is the back view of my Jettem™ router table. The router is mounted in a framework which can be moved vertically by turning a crank located beneath the table top. The dial visible at the top left of the table adjusts router hight by 1/2000 of an inch! The saw in the background is my 14" compound mitering saw, mounted on a very solid portable folding stand. I use it for ensuring boards are squared, and to cut very precise angles - a very useful tool! |
|
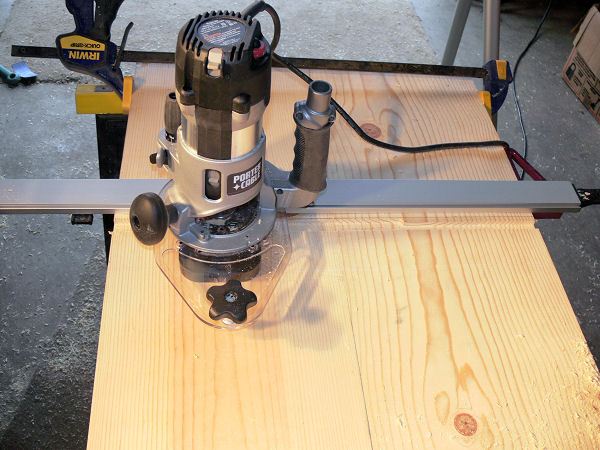 |
This shows the router mounted on the dadoing jig shown in the first photograph. If you click the thumbnail to view the larger picture, you can see the start of the first dado to the right of the router. Clamping the boards together and making sure the ends are exactly square ensures the dado is at exactly the same distance from the end of the board - which, of course, is a good thing because the shelf will be level when installed. |
|
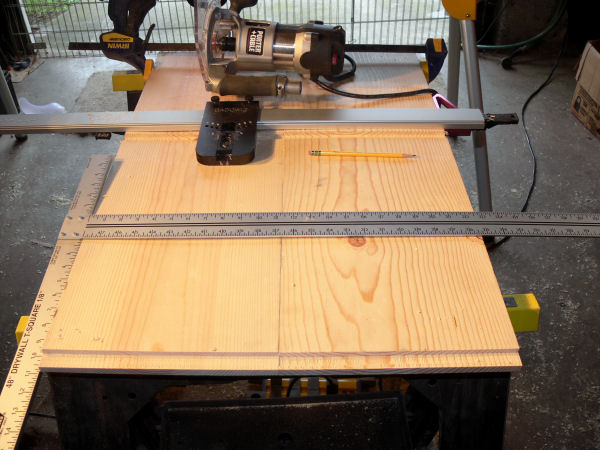 |
The bottom and top shelf dadoes has been completed. Here I have just completed drawing the guideline for the middle shelf exactly half way between the bottom shelf dado and the top shelf dado. |
|
 |
On the left: Cutting and squaring the three boards that were selected for the shelves. First, clamp the boards together (off screen in this picture), and square one end. Second, clamp the squared ends together so they stay square, and measure out to the required length for the shelf and clamp that end together. Move to the measurement line and cut with the mitering saw. Result: Three shelves that are exactly the same length with just two cuts as shown on the right. |
 |
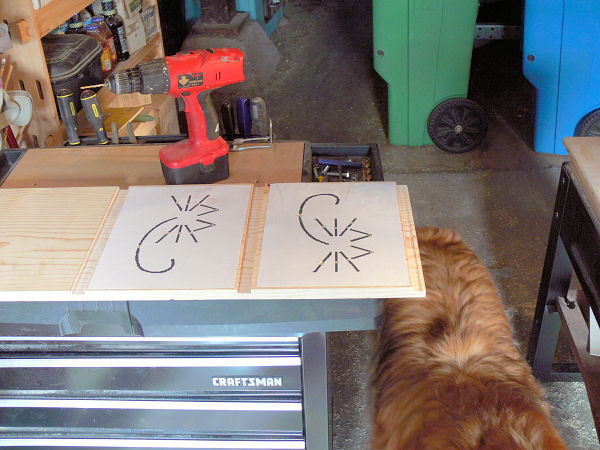 |
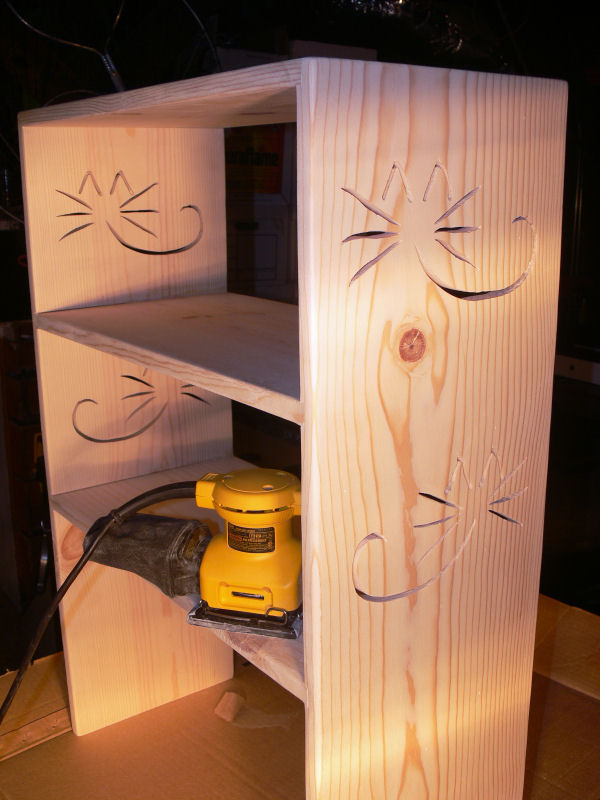
The cat sigil is my wife Martha's. I scanned it in, blew it up to 8.5 by 11", saved a mirrored version,and printed them out. The printouts are glued to the wood using non-permanent glue sticks. Next, I drilled through the widest part of each line using a 1/16" drill bit so that I could insert the scroll saw blade through the hole and cut out each line. Yes, that is Simba, bringing me a tennis ball; and yes, I took a break and went out in the back yard to throw the ball for him for a while. |
|
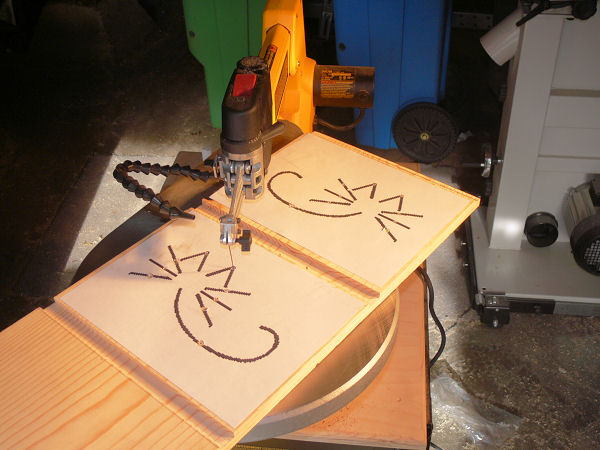 |
To cut out the design, one has to remove the blade from the scroll saw and insert it through the drilled holes, then carefully clamp the top and bottom of the blade in the saw, then adjust the tension of the blade before cutting. This has to be done for each and every line. Very time consuming, but worth it - and now you know why hand-crafted scroll saw work is so expensive! |
|
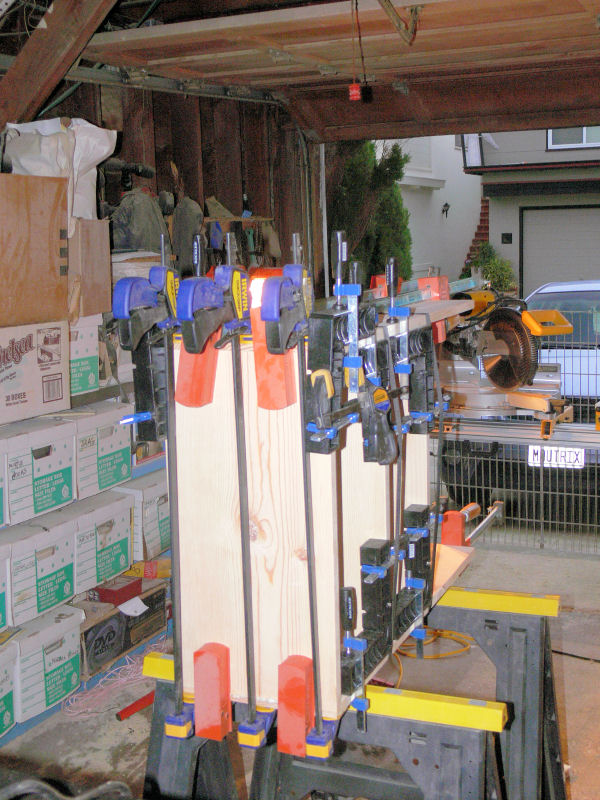 |
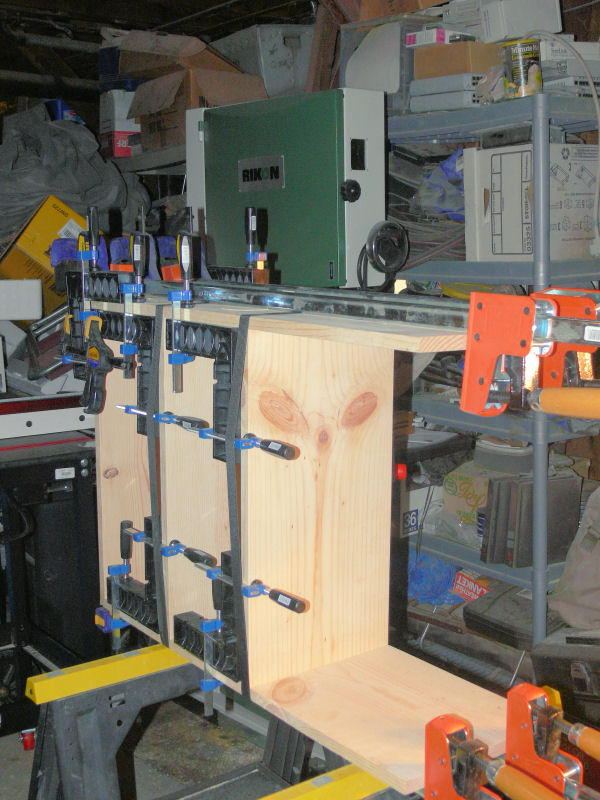
After touch up sanding: assembly. I used Gorilla Glue™ to glue the shelves into the dados, and then used my squaring clamps on the inside of the shelves to ensure perfect 90° angles on each joint. Next, the outside of the shelf was clamped down using bar clamps and web clamps. As the saying goes, "One can never have too many clamps"! |
 |
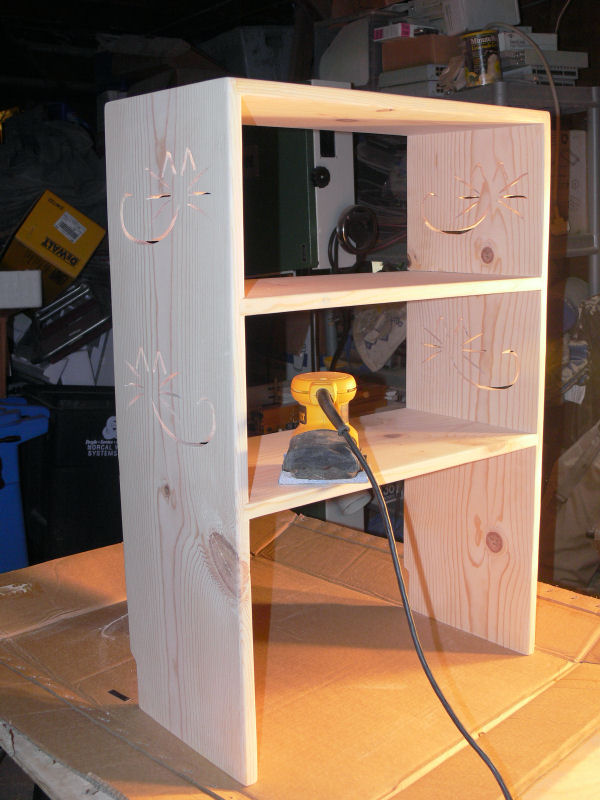 |
I unclamped the shelf the following Saturday and did some final touch up sanding before applying the finish: A blend of bees wax, carnuba wax, orange oil, and just enough turpentine to ensure the wax and oil penetrate the wood. Three hours later, I gave it another coat of wax. |
 |
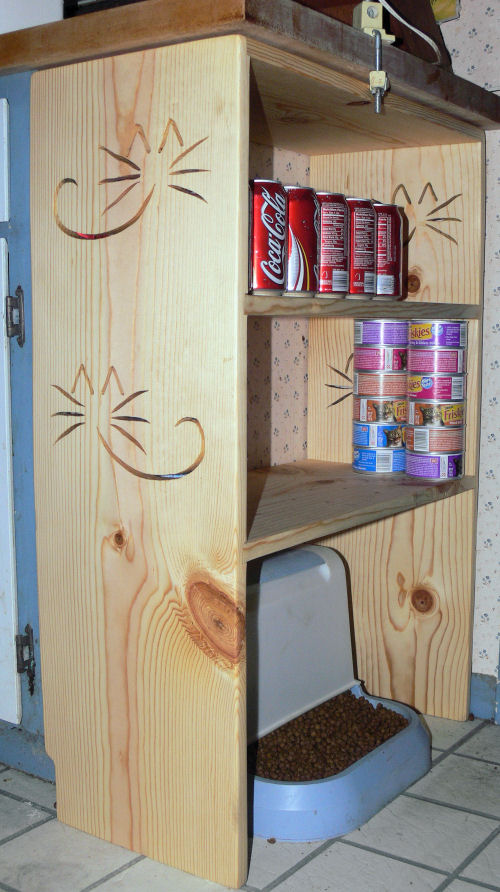 |
Sunday morning, I hand-buffed the shelf using some old flannel sheets, brought it upstairs, and put it in place. No more wasted vertical space above the dry cat food dispenser! |
|