|
Copyright © T. GhostWolf Davidson. All rights reserved. |
Piracy / Copyright Notice |
Break out of someone else's frames here |
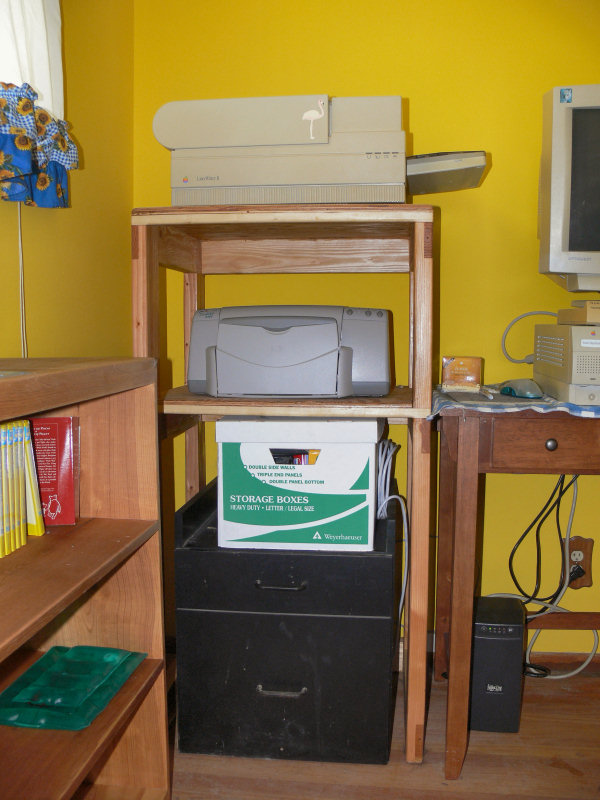
Mou's Printer Stand
Mou and I converted the third bedroom into a study and guestoom earlier this year, and while setting up her computer table and printers, Mou asked me to build her a printer stand similar to mine, but with a bottom shelf big enough for her ink jet printer, and enough room under that for her small file cabinet. Two by fours and plywood to the rescue again!
I started this project on October 29th, applied the finish on the evening of October 30th, and then installed it in Mou's study in the morning of November 6th.
Click on the thumbnails to view details |
||||||
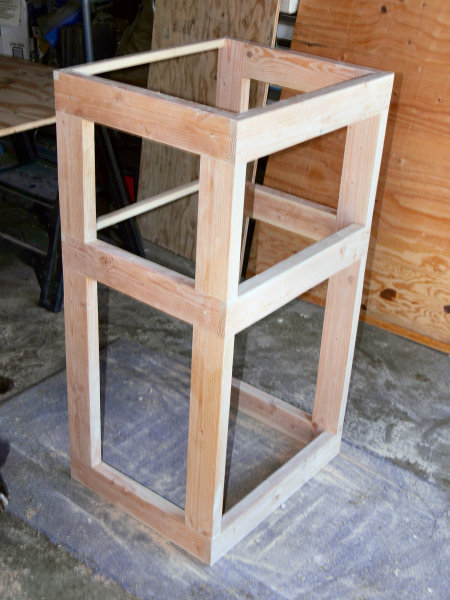 |
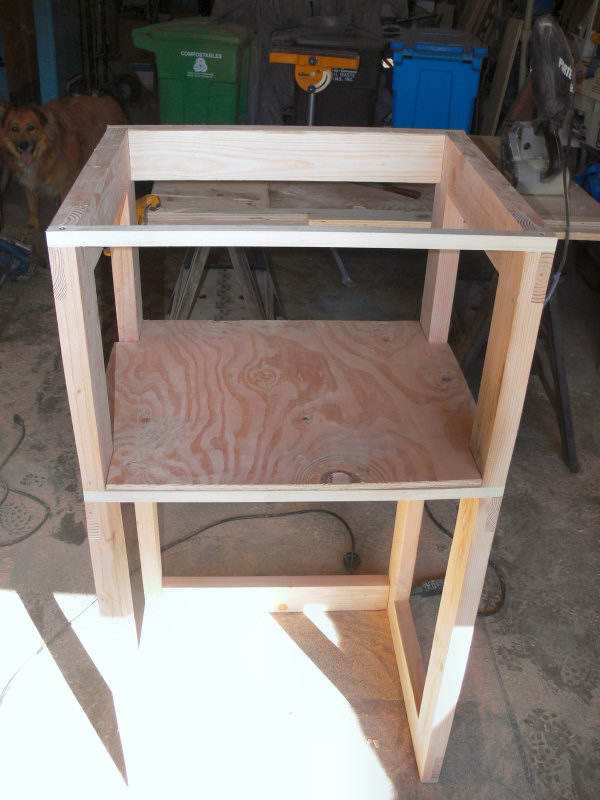
I used my radial arm saw with 14-inch stackable dadoing blades set for 3/8ths of an inch, even though the smallest dado groove was 1 and 1/4 inches. Dadoing a small section at a time ensures each dado is absolutely smooth, and tremendously reduces the chance of the wood splintering when cutting up to 3/4 of an inch deep. After completing all dados, each piece was sanded, and then assembled using Gorilla Glue™ and brass wood screws, using 12 90° clamps to ensure the frame was perfectly square.
|
|||||
 |
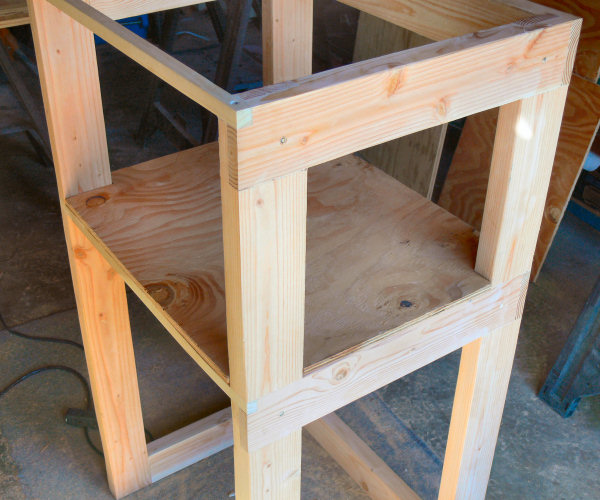
A front view, showing the oak 1 by 1 inch supports for the front of each shelf. The two by fours are fir, and the shelving is pine construction grade plywood. |
|||||
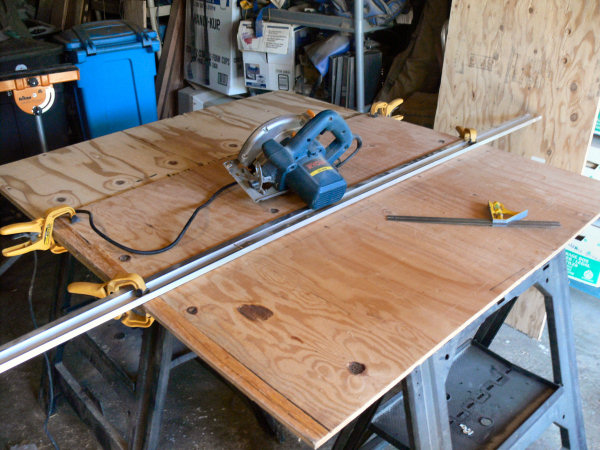 |
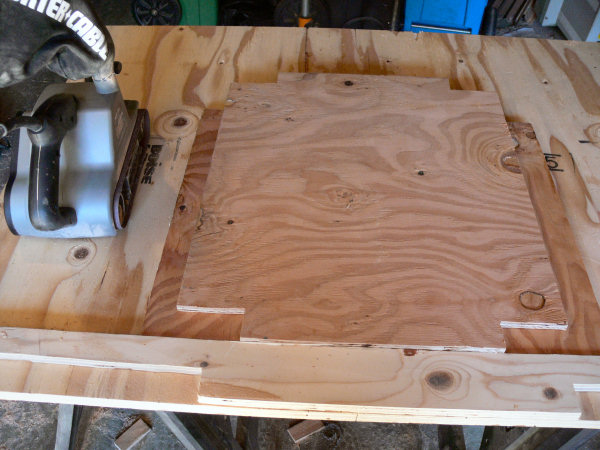
The next step was to cut the first plywood shelf to size, and then cut the corner cutouts so that the shelf would fit snuggly around each vertical two by four. Notice the roughness of the plywood! Here, I'm using my extra-length straight edge, clamps, and though not shown, a commercial 4-foot t-square. |
|||||
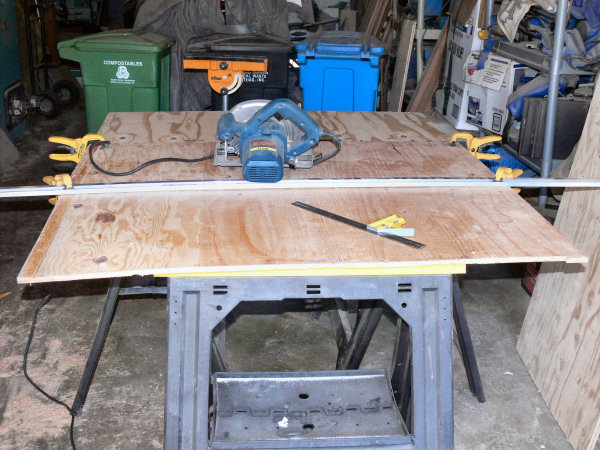 |
Another perspective of the plywood just before cutting. One has to allow enough space between the cutting line and the straight edge for the rip saw's fence, which in this case is 1 and 3/8 inches. |
|||||
 |
I always check the fit before sanding a piece. This shows how the plywood has been cut to fit snuggly around each two by four. |
|||||
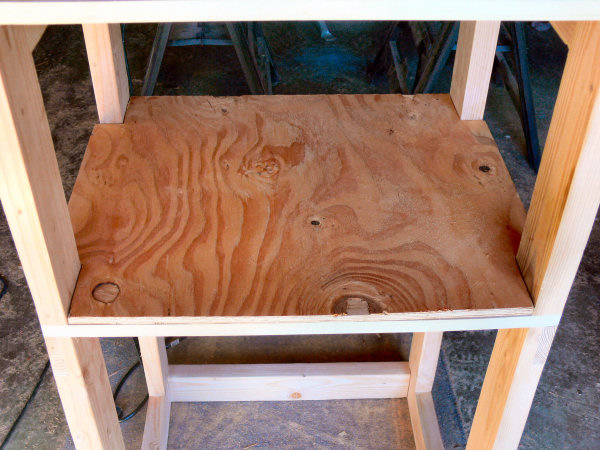 |
Checking the fit all the way around. If a piece fits in with some light tamping, I'm happy. If it drops in easily, then it is too loose. |
|||||
 |
Satisfied with the fit; time to sand the very rough plywood smooth! I've used a piece of scrap plywood clamped to the worksurface as a backstop. That 4x24 inch commerical Porter Cable™ belt sander is heavy, and can shoot a piece of wood quite some distance; thus the backstop. |
|||||
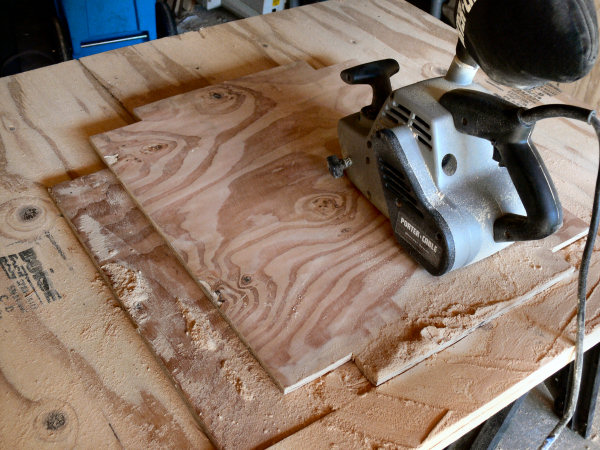 |
Sanding in progress. Notice how smooth the plywood is even though I am using an 80-grit belt - and notice too how much sawdust is on the surfaces, even though a dust catcher is attached to the sander and nearly full. For those wondering, yes I do wear a face mask and eye protection - and a bullet proof vest - when using any power tool. |
|||||
 |
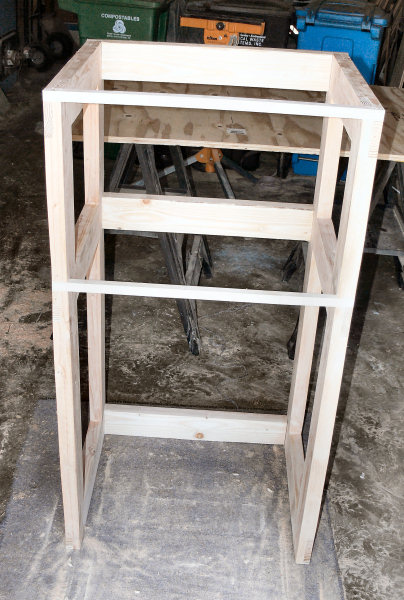
Sanded shelf installed; anchored with Gorilla Glue and brass wood screws. For the wood workers reading: I use concave hex-drive wood screws, drill pilot holes, and counter sink the holes before sinking the screws. No screw driver slippage, no splitting wood. |
|||||
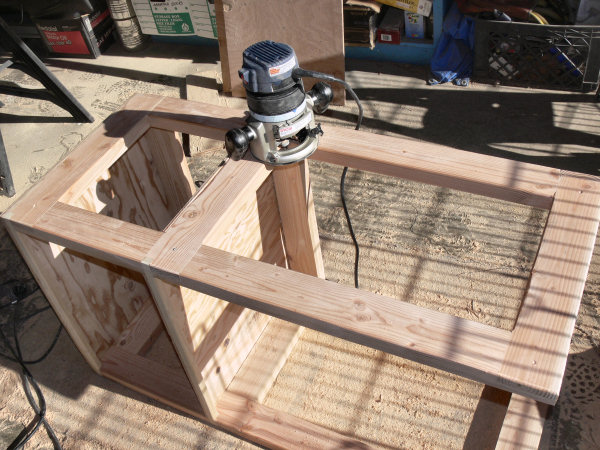 |
A quarter-circle 3/8 inch router bit works great for rounding and smoothing every edge, and goes very far towards preventing edge splinters should anyone knock up against an edge - and, this beats hand-sanding edges round! Every edge was rounded, including the bottom of the legs. |
|||||
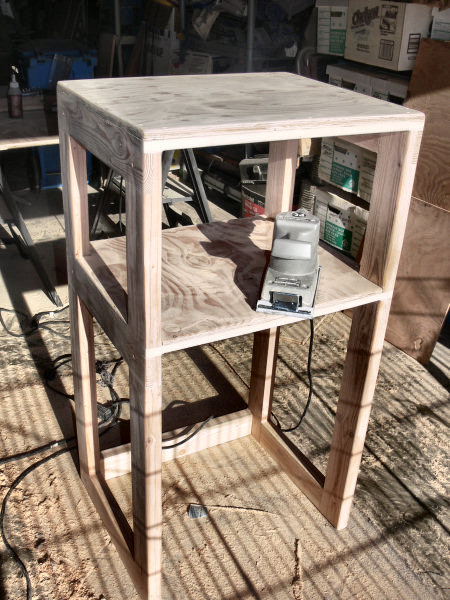 |
After using the router, all it takes is a little bit of touch up with the 1/2 pad sander and 160 grit sandpaper to finish the sanding. |
|||||
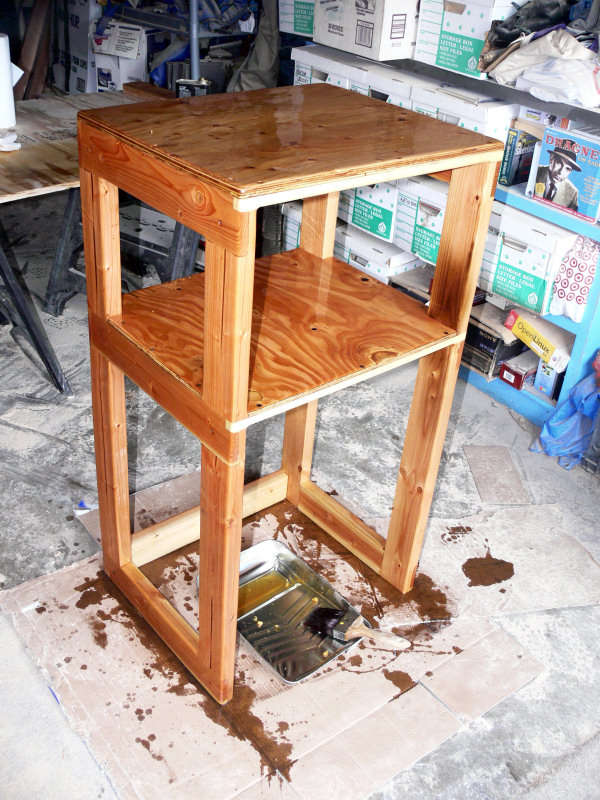 |
Mou wanted a natural oil finish without any stains. I have several oil finishes ranging from boiled linseed oil, various Danish oils, and Tung oil. I've used Tung oil on fir and pine before and liked the results, because once it has soaked in and cured, the wood is very close to its original color - even though Tung oil brings out a lot of reds in fir and pine when going as demonstrated by this picture! |
|||||
|
||||||
 |
Perfect fit! There are 1/4 inch hard felt pads on the bottom of the frame, and when calculating exactly where the top of the first (bottom) shelf would be, I estimated that the shelf would loose 1/8 inch of thickness because of the sanding. So, I cut the dado for the first shelf 3/8 of an inch lower than the top of the desk next to the shelf. The shelf and the desk top match perfectly. No space under a straight edge held across the shelf and the top of the table. Yowsa! |
|||||
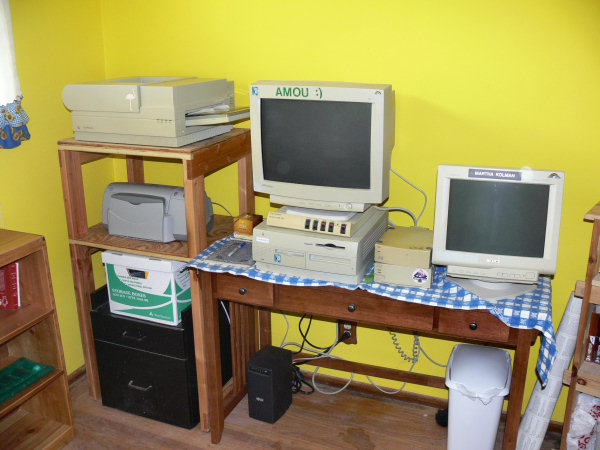 |
Mou's computer set up - and yes, that is a good old MacIntosh G3 sitting there, with two 1 Gbyte external hard drives. Once she gets her new notebook, the G3 will go to a good home though. |
|||||
|
If you ever need to build something that is simply functional, and build it fast - consider using construction grade two by fours and plywood. True, it is not elegant, and one has to do a lot of sanding - but one can make very solid furniture that works well and actually looks good. It's kind of like McGyver: He uses a Swiss Army knife and duct tape plus whatever materials are on hand to get a task done. I use two by fours and plywood plus whatever materials are on hand! The advantage to this approach is that one has a functional and attractive piece of furniture, thus resolving the immediate need - which in turn means one can take time to build the showcase replacement if one really wants to do that ;) |
||||||